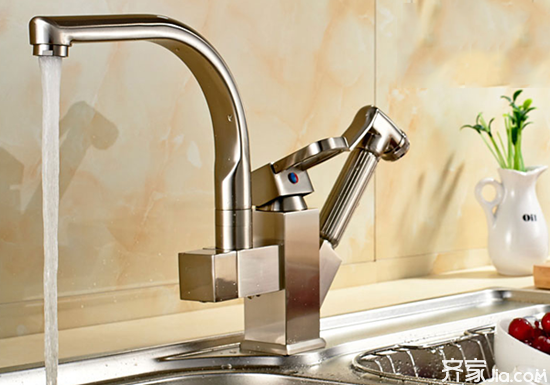
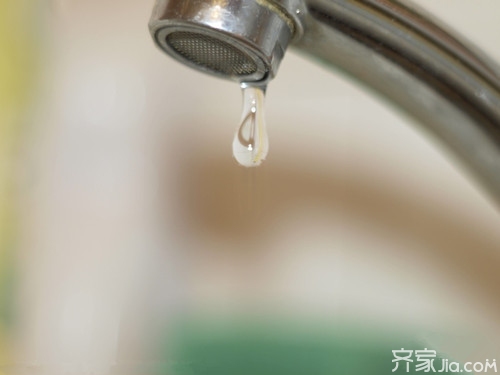
Leaking of faucets is a common phenomenon that many people disagree with. However, if the faucet drops every second for a month, it will waste a lot of water and expenses, so if there is any sign of leakage, it should be repaired as soon as possible. So how can you repair a faucet leak ? Let's take a look at the cause of the faucet leak and the faucet leak repair steps.
Leaking faucet how to fix the faucet leaking repair steps
First of all, analyze the reason why water leaks even if the tap is tightened:
1, the reason for the water outlet leakage: it is due to the axis of the washer within the faucet wear. Use a pair of pliers to loosen and remove the cover cap, remove the shaft washer with a clamp, and replace with a new shaft washer.
2. Causes of leaks in the gaps in the lower part of the faucet: It is caused by the wear of the triangular gasket in the gland. You can loosen the screw to remove the boring head, then loosen the cover, and then remove the inside cover of the gland and replace with a new one.
3. Water leakage from the joint: Generally, the cap nut is loosened. At this time, you can re-tighten the cap nut or replace it with a new U-shaped gasket.
Several steps for faucet leak repair:
Step 1. Close the inlet valve. Remove the small screw above or behind the faucet handle to remove the handle that is attached to the faucet body. Some screws are hidden under metal buttons, plastic buttons, or plastic tabs that snap into or screw into the handles. Just open the button and you will see the handle screw on the top. If necessary, use a penetrating oil such as WD-40 to loosen the screws.
Step 2. Remove the handle and check the components of the faucet. Remove the packing nut using a large-scale pliers or adjustable wrench, taking care not to leave scratches on the metal. Rotate the spool or shaft in the same direction that you turned it when you turned on the tap to unscrew them.
Step 3. Remove the screws that secure the washer. If necessary, use penetrating oil to loosen the screws. Check the screws and valve plugs and replace them if damaged.

Step 4. Replace the old gasket with a completely new one. New washers that almost perfectly match the old ones will generally make the tap no longer dripping. You also notice whether the old washer is beveled or flat and replaced with the same new washer. Gaskets designed for cold water only expand rapidly when there is hot water passing through it, blocking the outlet and slowing the flow of hot water. Some washers work in both hot and cold water, but you have to make sure that the gasket you bought for replacement is exactly the same as the original one.
Step 5. Secure the new gasket to the valve plug and reinstall the components in the faucet. Rotate the valve clockwise. After the valve plug is in place, reinstall the packing nut. Be careful not to let the wrench scratch the metal.
Step 6. Reinstall the handle and put the button or disc back. Re-open the water supply and check for leaks.
The above is a brief introduction to how to repair the faucet leaks and how to repair the faucet leaks. We hope to help you. For more information, please visit this website. Stay tuned.
Faucet
Pvc Chain Link Fence,Pvc Coated Rhombus Chain Link Fence,Pvc Chain Link
Shenzhou City Hongda Hardware Products Co.,Ltd , https://www.galvanziedwire.com